Your First App
in the App Store
From Idea to Release
Everything I learned so you don't have to make these mistakes.
 anjo.codes
Why this guide?
The story behind this guide
Imagine opening the App Store and seeing your own app. With your name, your design, your code. That was my dream. And then my first app got rejected.
But that rejection taught me everything I know today. I'm not a big studio. No team. I built my apps alone, alongside my full-time job. If I can do it, so can you. In this guide, I share everything I learned so you don't have to make these mistakes.
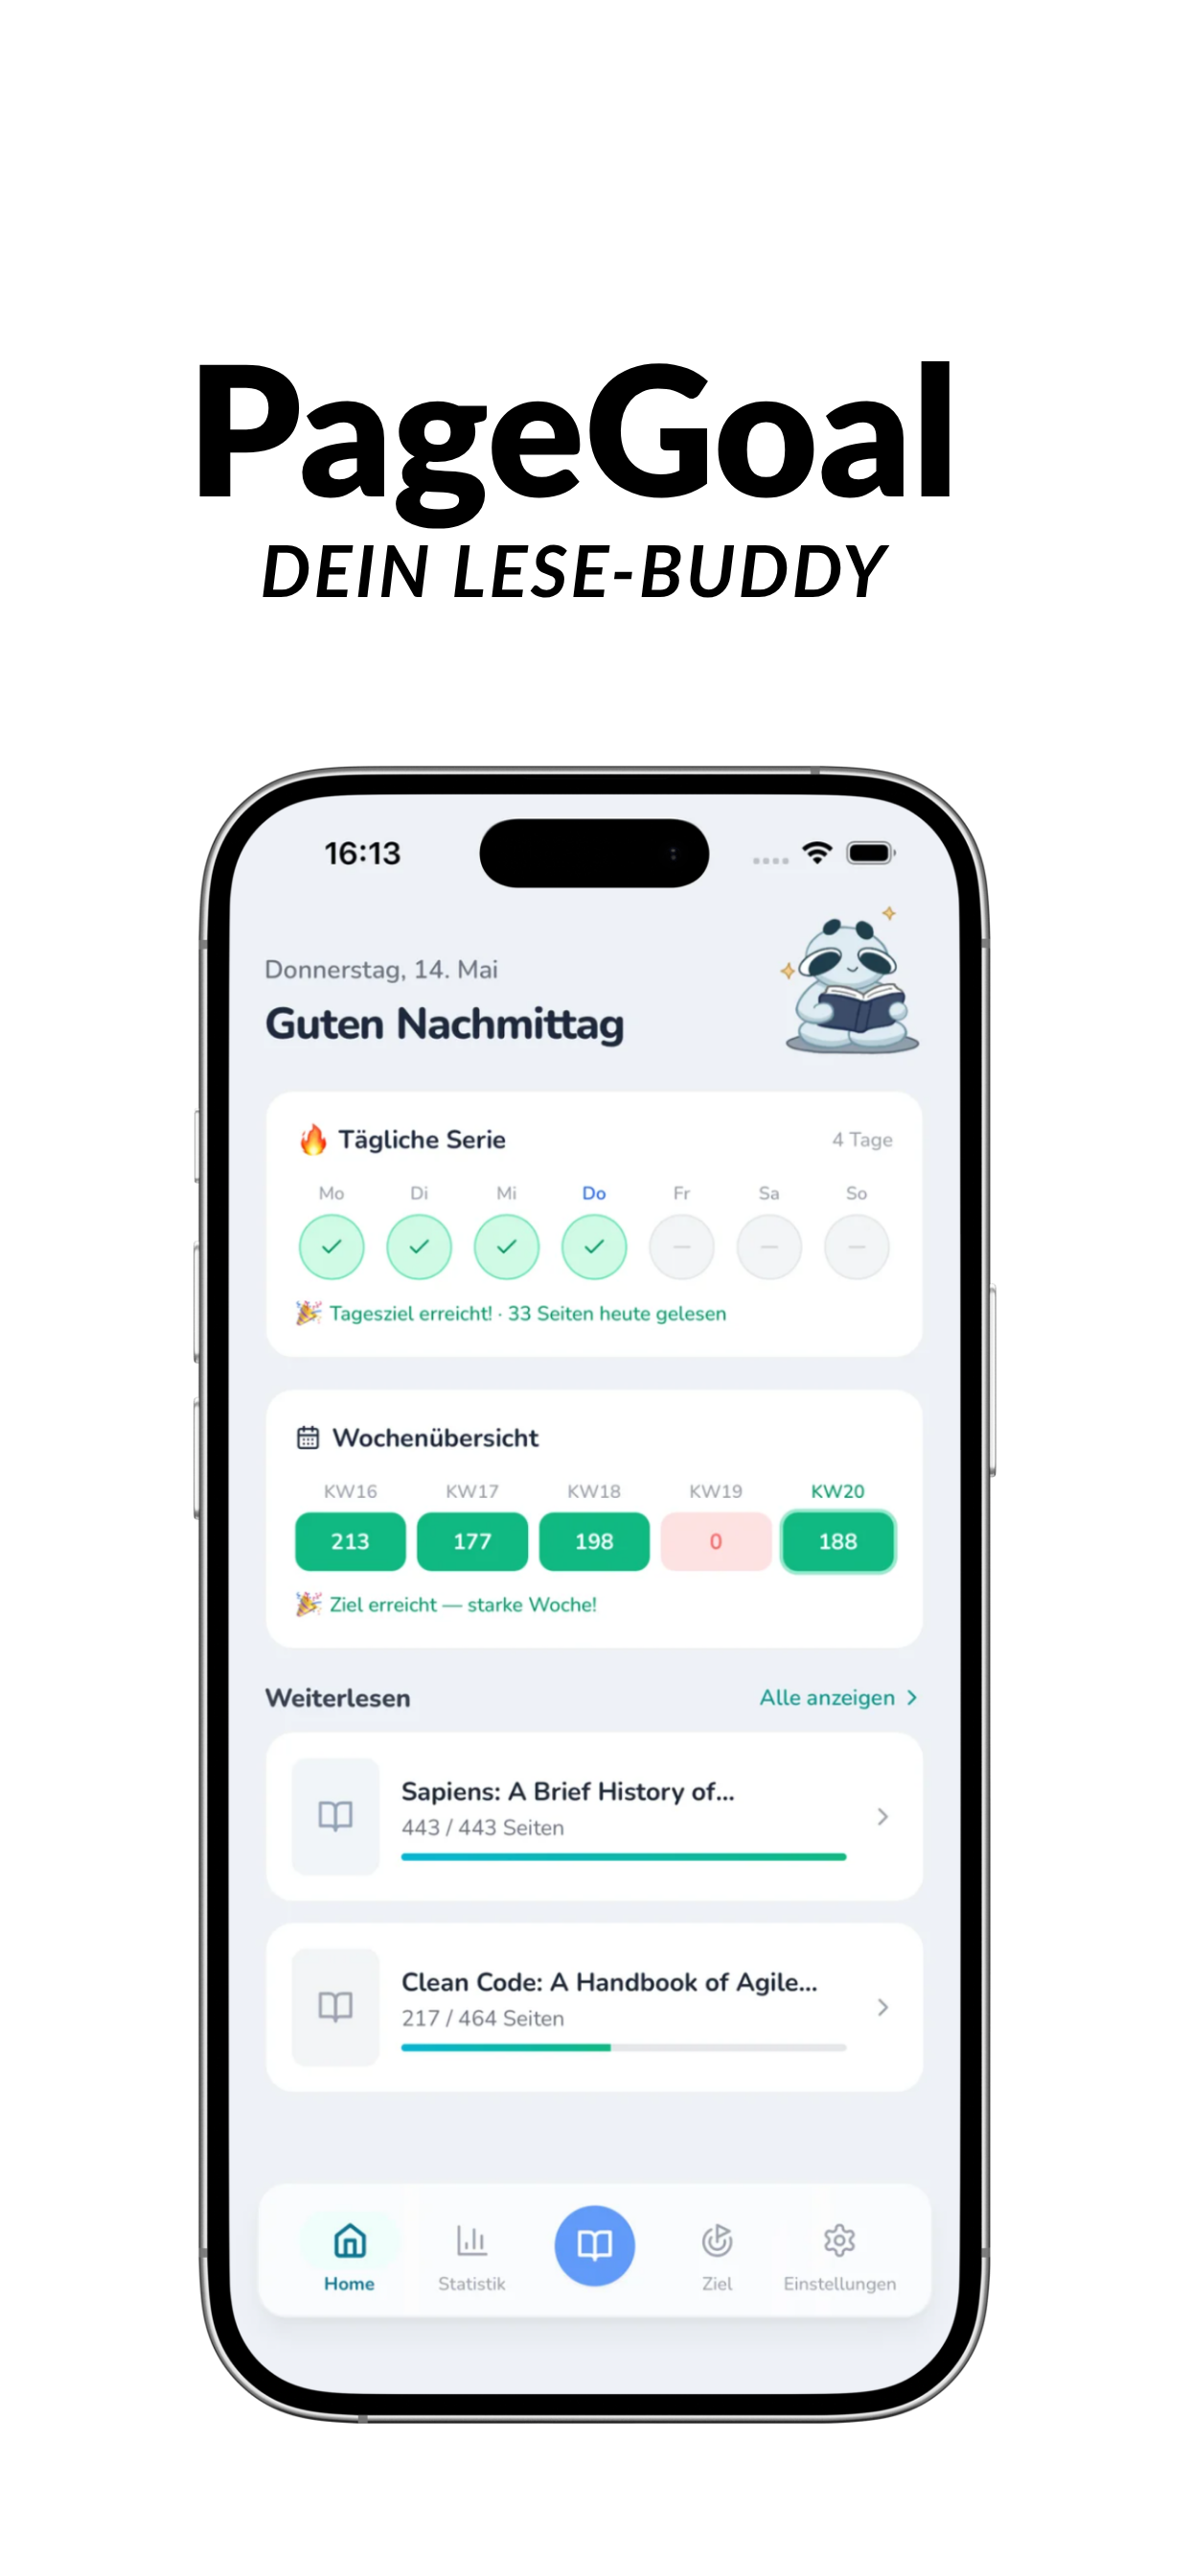
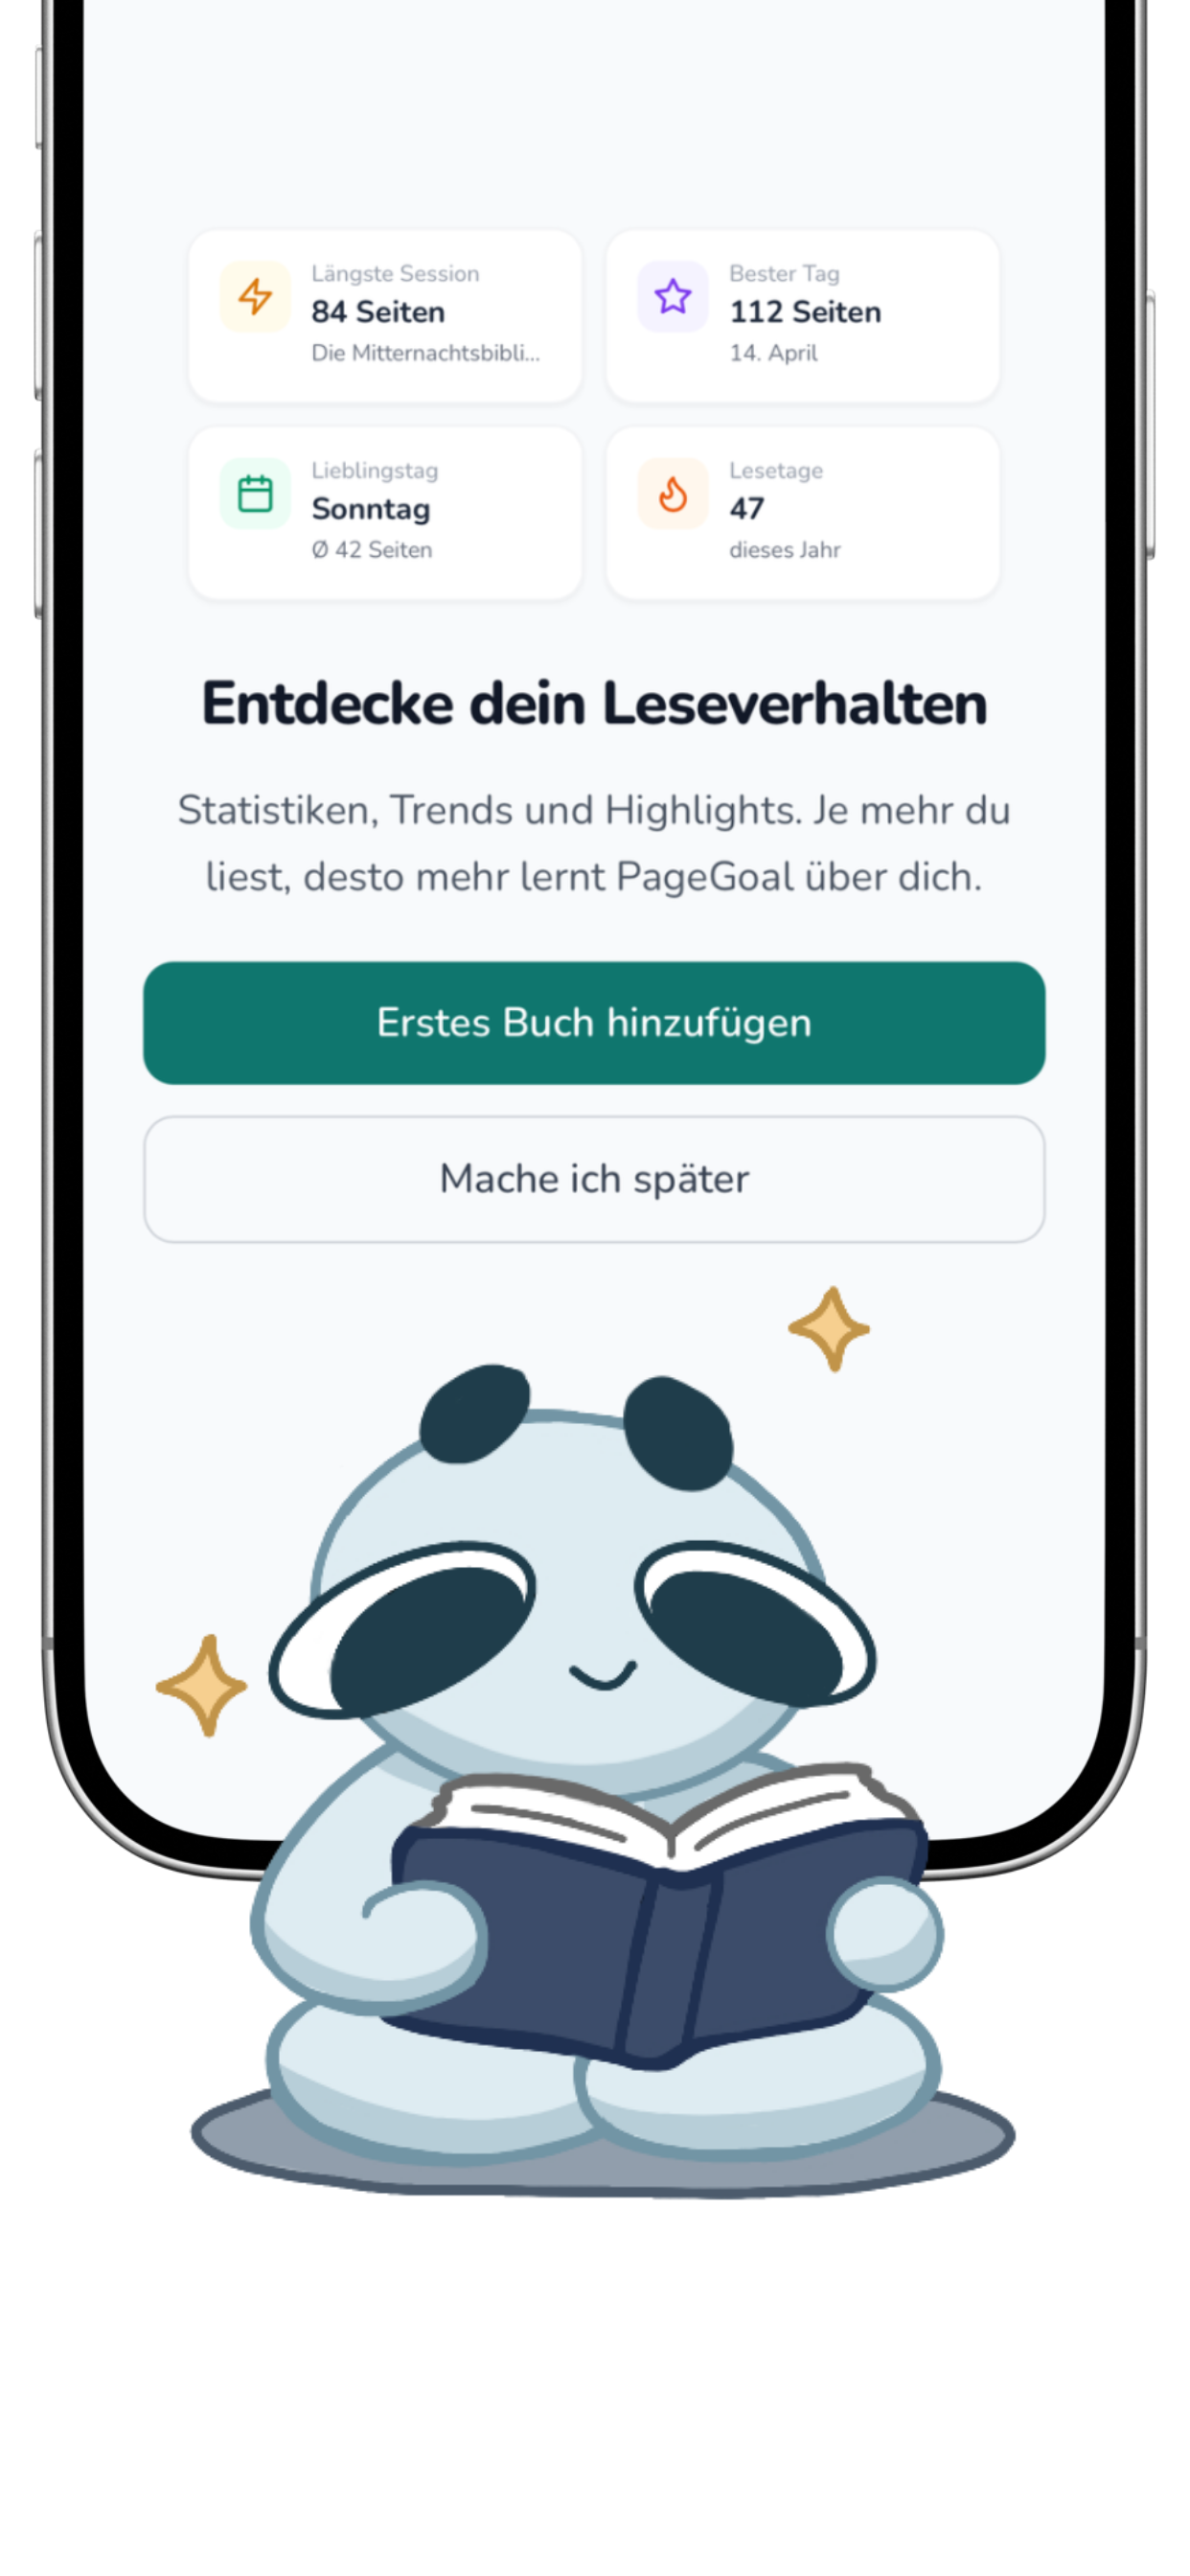
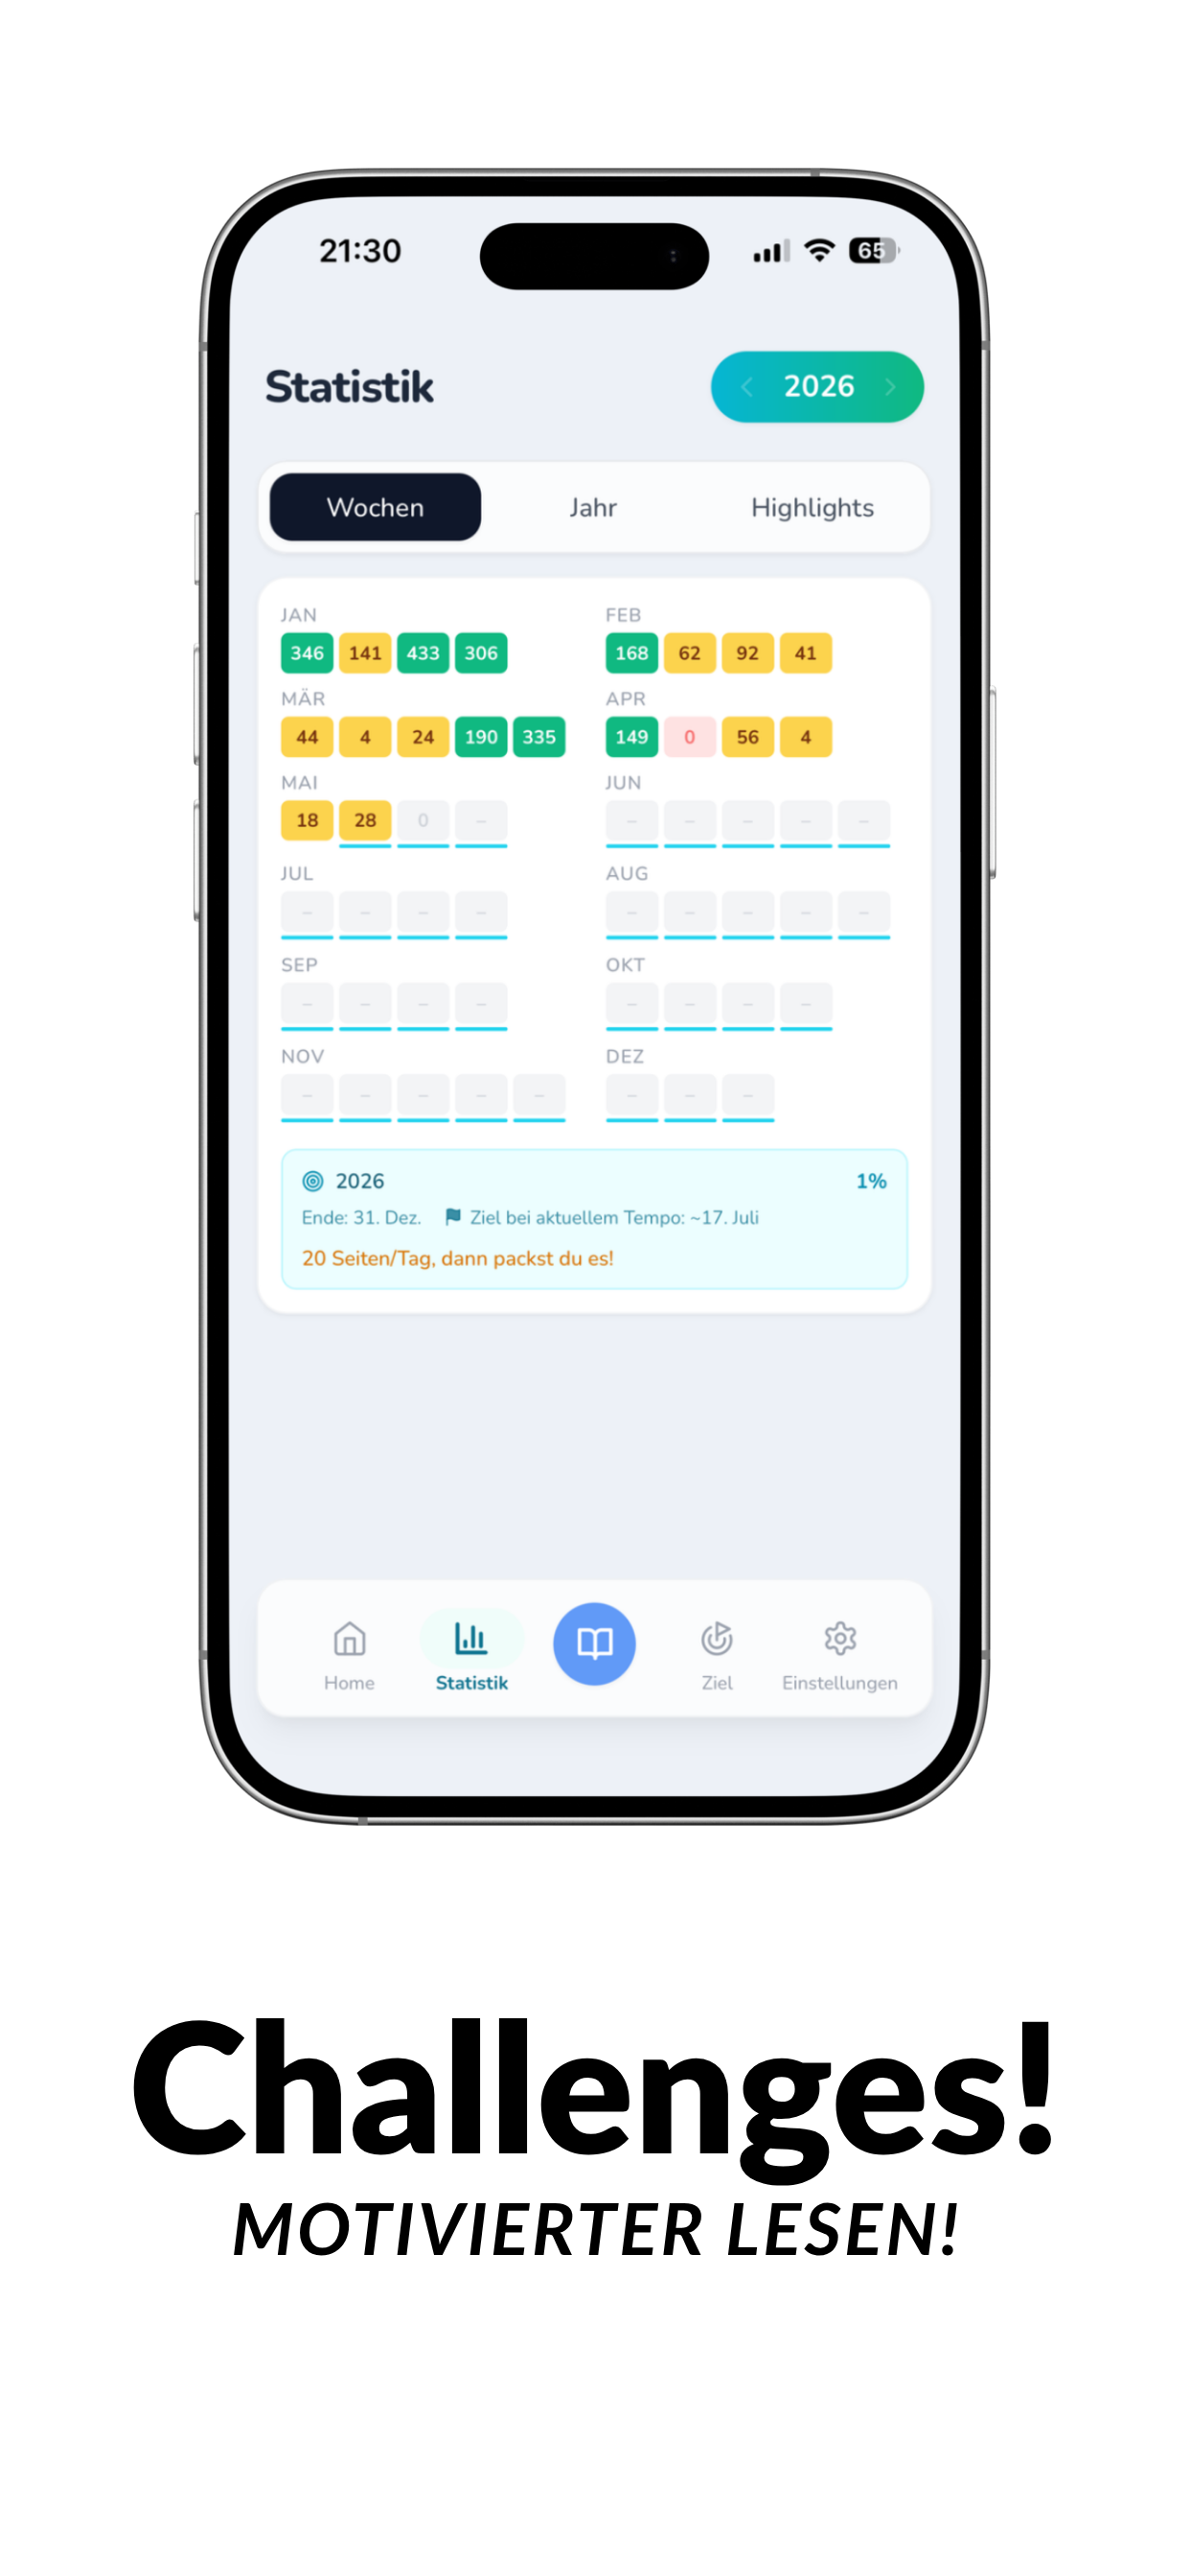
PageGoal: My app that made it into the App Store
Who is this guide for?
You already know how to code — whether React, Swift, Flutter or something else. You may have built small projects before, but never published an app. This guide shows you the way from "finished app on my machine" zu "live in the App Store".
What I don't cover: learning to code, UI design from scratch, or how to find your app idea. I assume you can develop and are comfortable with a terminal.
1What to expect
And what it costs
Before you start, the hard facts:
That's all the mandatory costs. You don't need a designer or a backend. I built my apps completely without a server — everything runs locally on the device.
2What you need
Hardware
Let's talk about the elephant in the room: You probably need a Mac.
For iOS development, macOS is basically mandatory. Xcode only runs on Mac, and you need it to build and submit your app.
The exception: Expo
Tools like Expo let you test directly on your own iPhone without a Mac. The Expo server compiles the app for you in the cloud. It works, but you're limited:
- No iOS emulator for quick testing
- Less control over the build process
- Dependent on Expo's cloud service
My recommendation
If you're serious about iOS development, invest in a macOS device. Emulators and Xcode are resource-hungry, so aim for at least 16GB RAM. A used MacBook Pro is often a good compromise between price and performance.
No Mac and no Expo? Then start with Android. Also a great start! The Google Play Store is easier in the review process and you'll still learn everything important.
3Your idea
And why it doesn't have to be perfect
My first thought was Lovsy, a love statistics app. The idea was good. But I made a mistake that cost me the first submission (more on that later).
My recommendation: Build something you would use yourself. Not the next social media platform. Something small, useful, concrete.
- What problem does my app solve?
- Does it already exist? If so, what do I do differently? (Apple will ask you this too.)
- Can I build this alone in a few weeks?
4The tech stack
Keep it simple
There are countless ways to build an app. Seriously, you can even write an app with Python (whether I'd recommend it is another question). Just look at what's out there and where you already have skills.
I used React with Capacitor. My app was initially just a website. But many users didn't know how to install and use a PWA. So I simply added Capacitor as a package and turned it into a real app.
- I could use my web skills (React)
- No need to learn Swift
- No backend, everything runs on the device
- With Capacitor I can later also serve Android
I already knew React Native and Expo, but wanted to try something different with this project. That's okay too — you learn with every project.
Other options that work
- Swift / SwiftUI if you want native iOS (needs Mac)
- Flutter if you want iOS + Android simultaneously (needs Mac for iOS)
- React Native / Expo especially Expo is exciting because you can test directly on your iPhone without a Mac
My tip: Use what you already know. The best technology is the one you actually finish with.
5Build your MVP
Less is more
MVP = Minimum Viable Product. The smallest possible version of your app that still works.
I know, you want everything to be perfect. Every animation needs to be right, every feature needs to be in. I get it. But trust me: just ship it. Your first version will never be perfect, and it doesn't have to be.
With my app PageGoal, I focused on the core function. No fancy animations, no 20 features. Just solve the core problem.
- The one main function that someone downloads your app for
- A clean, simple UI
- Works without crashes
What does NOT need to go in (yet)
- In-app purchases
- Social features
- 15 different settings
- Dark mode (can come later)
6Apple's Design Guidelines
Take them seriously
This was one of the most important lessons. Apple has its own Human Interface Guidelines, a huge document that describes what a good iOS app should look like.
You don't have to memorize it, but you should understand the basics:
- Use standard iOS navigation (Tab Bar, Navigation Bar)
- No confusing gestures
- Readable font sizes
- Consider accessibility
Apple reviews every app manually. If your app looks like a bad website in an app frame, it will be rejected. They want quality in the Store — and that's actually good for you, because it keeps the junk apps out.
7My rejection
And what I learned from it
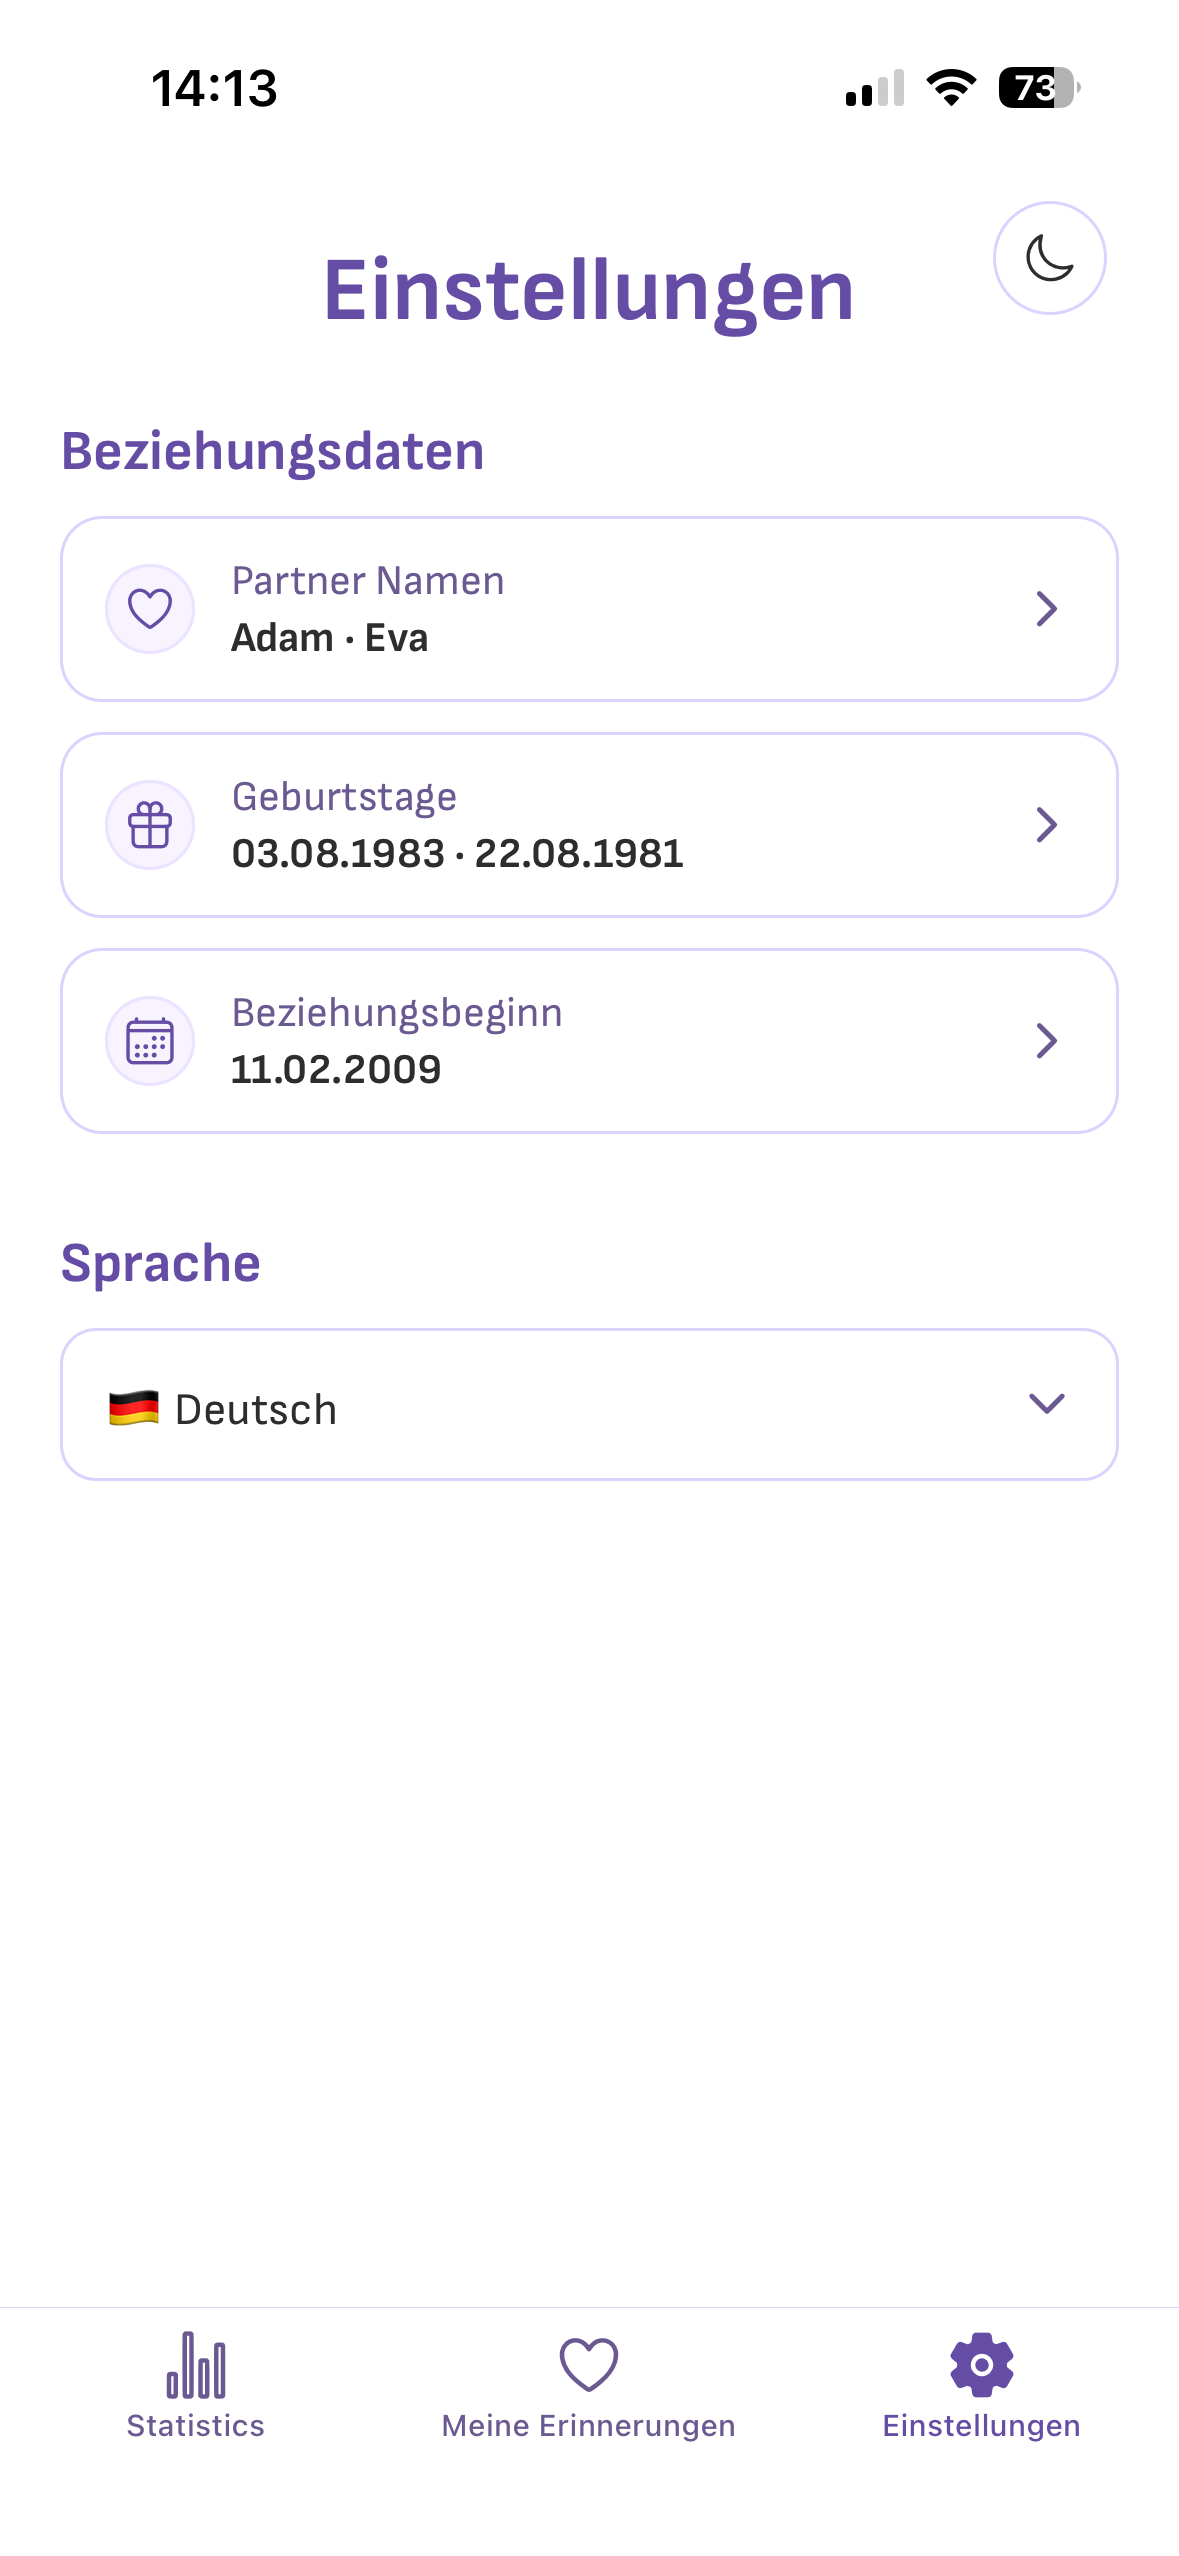
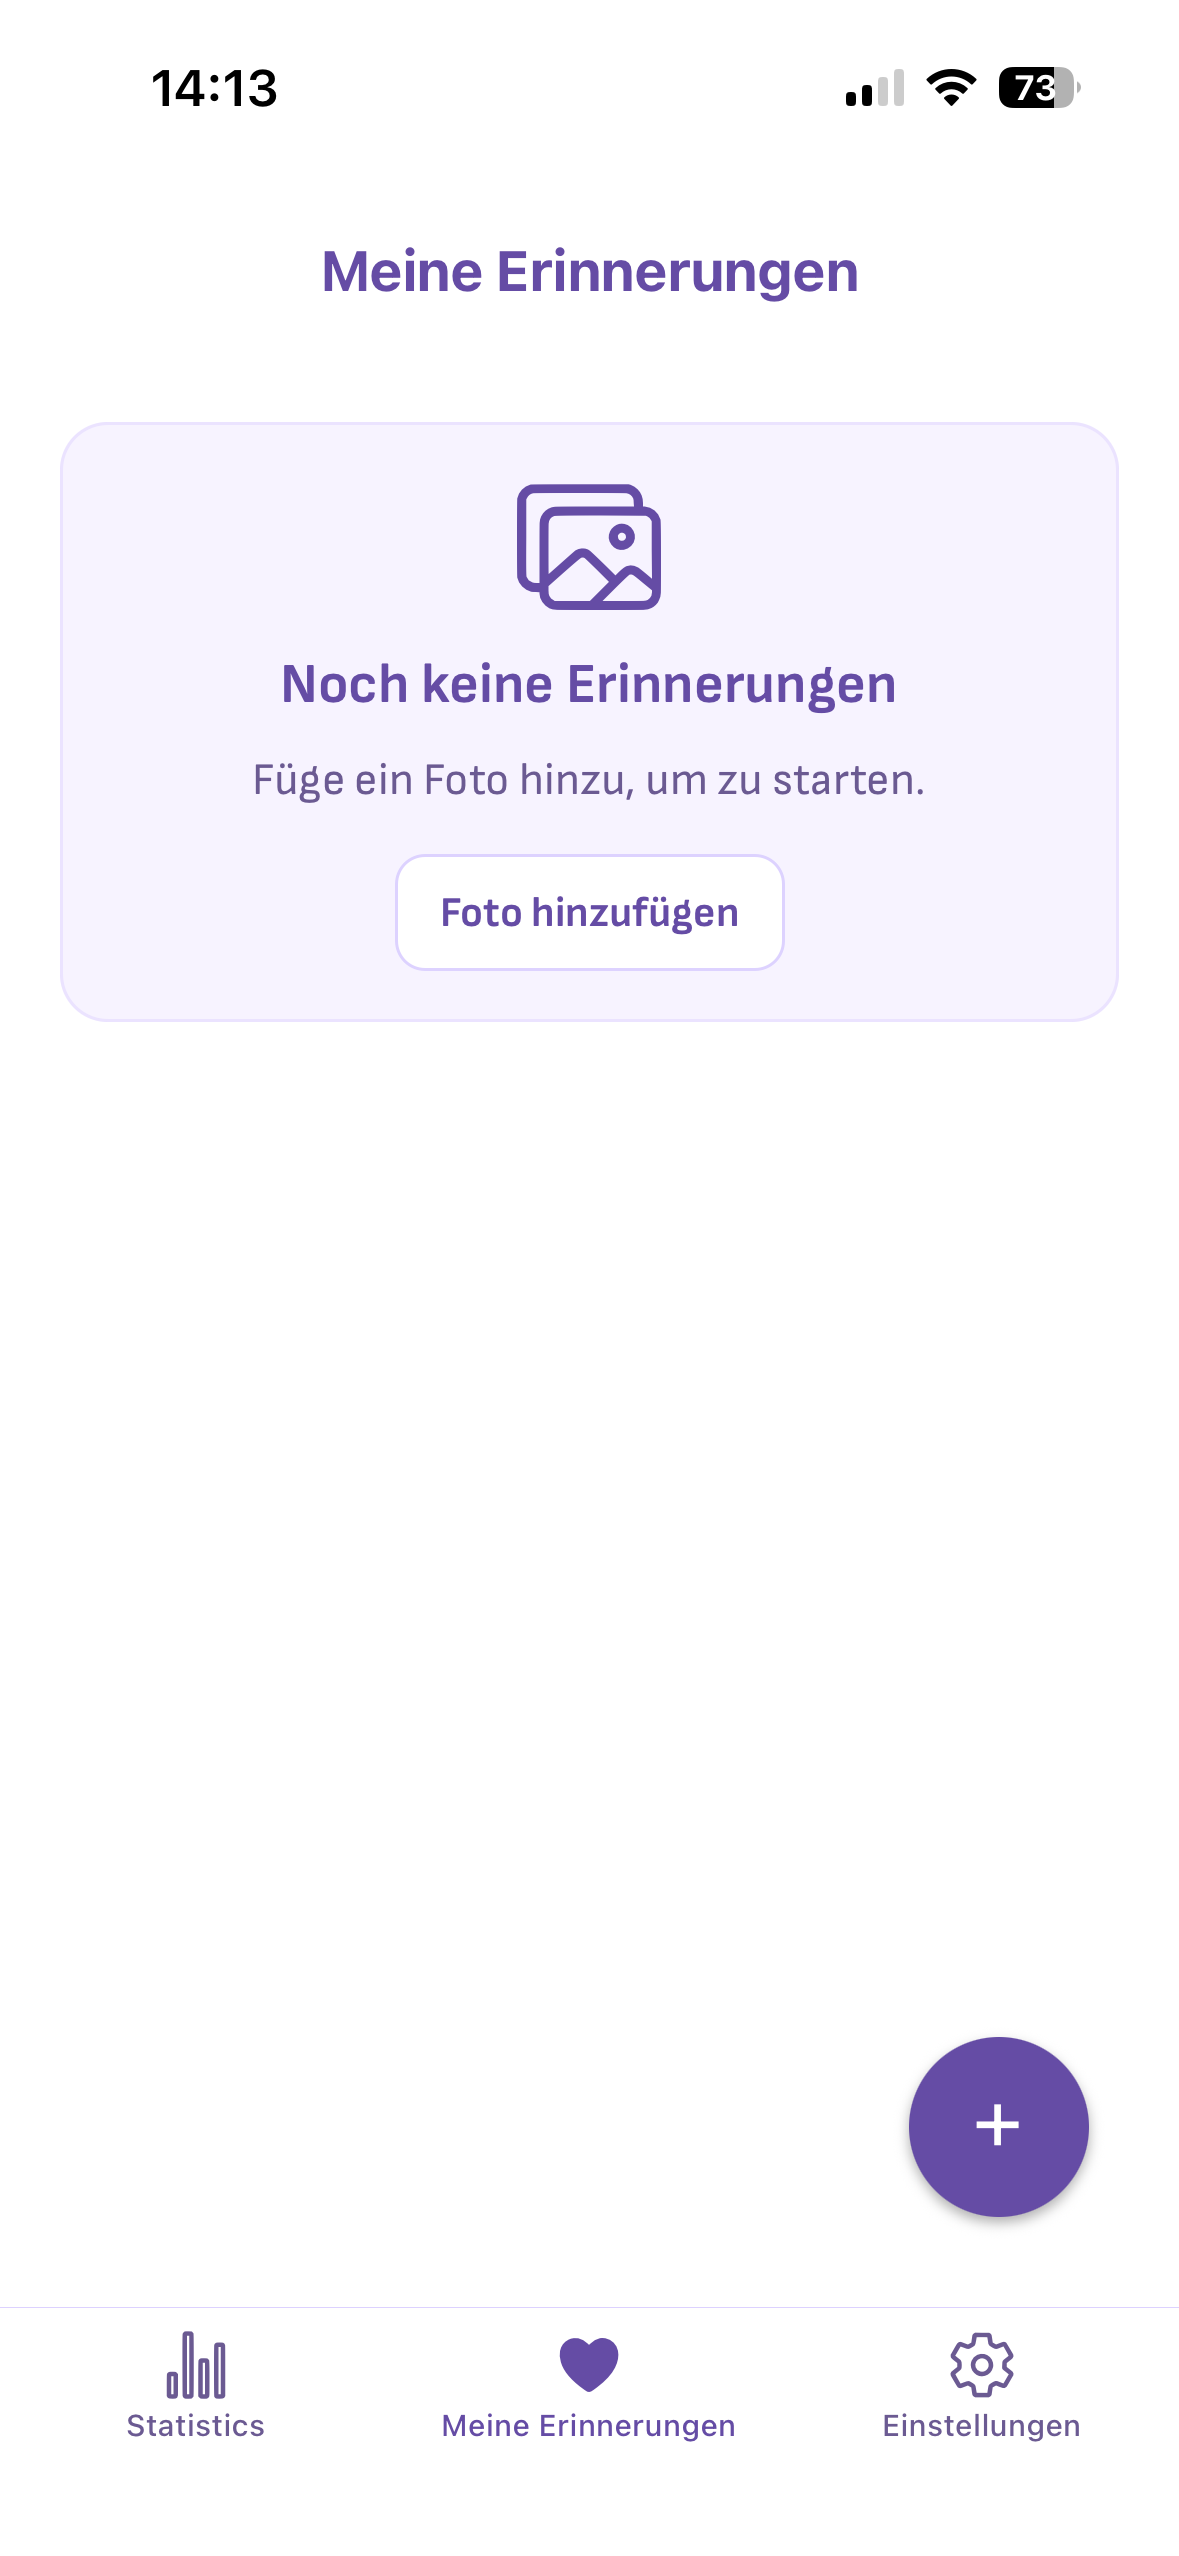
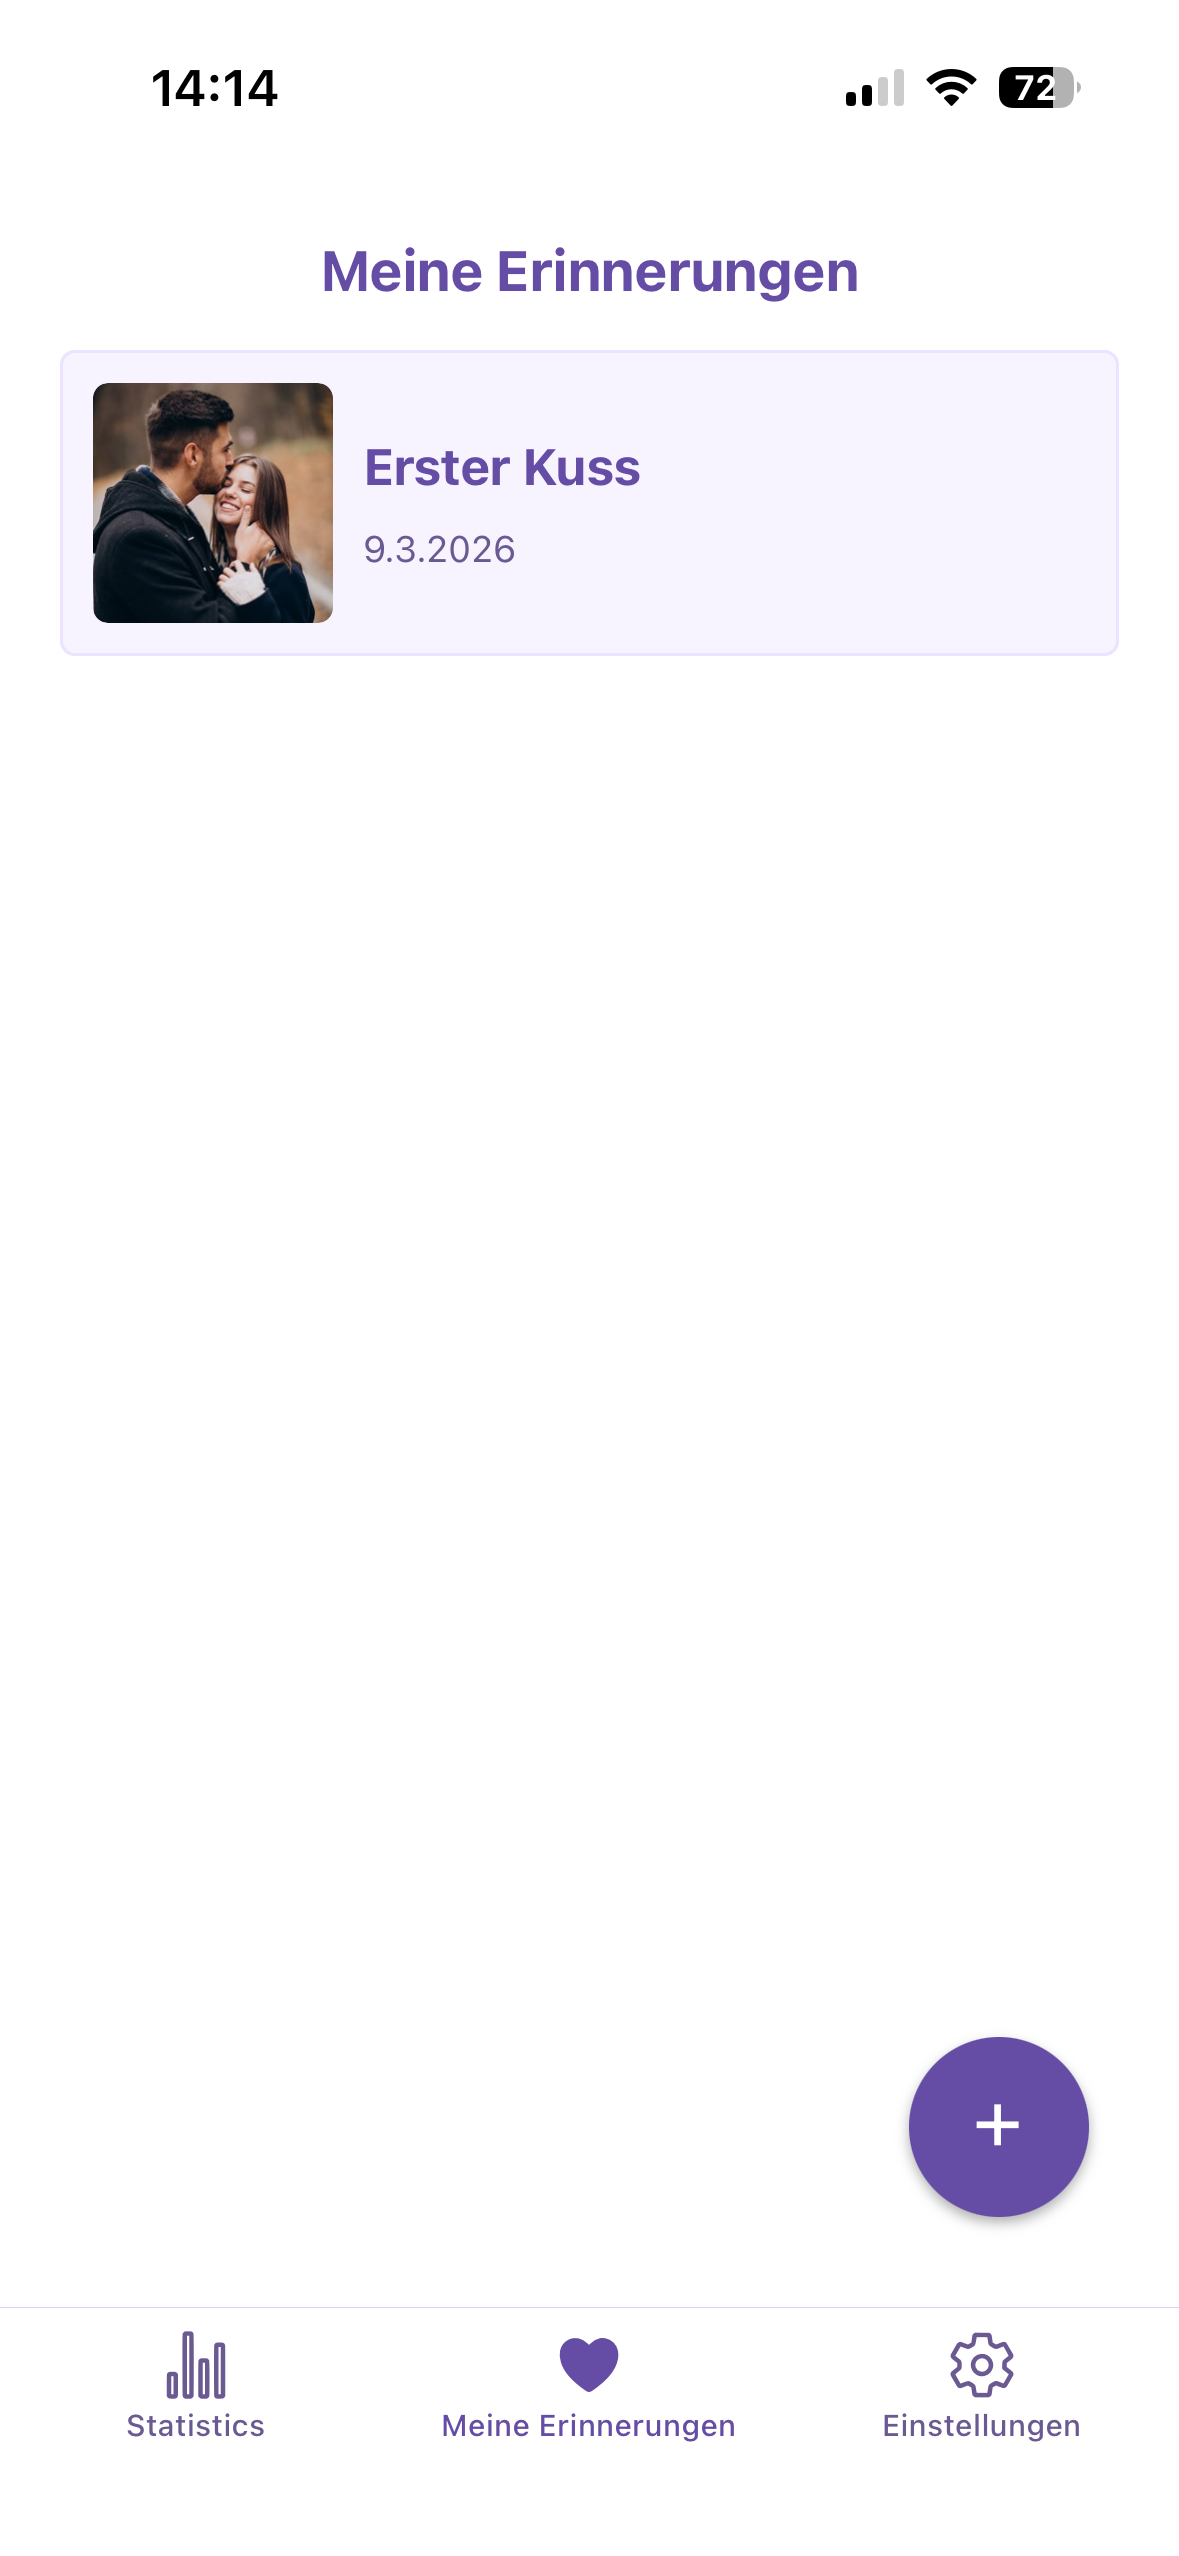
Lovsy: My first app that got rejected
This is where it gets personal. I submitted Lovsy and was super excited. A few days later: Rejected.
The reason: My promotional text in the App Store didn't explain what makes my app different from other love statistics apps. Apple wanted to know: Why does the world need this app?
That sounds harsh, but it's a fair question. And it taught me:
- Your App Store text isn't just marketing — it's part of the review process
- You need to clearly communicate what makes your app different macht
- "Just another XY app" isn't enough
I put Lovsy aside and finished PageGoal instead. With everything I learned from the rejection. PageGoal was accepted on the first try.
8Your App Store listing
This is where it all counts
Your listing is your storefront. Most people decide in 3 seconds whether to download your app or keep scrolling.
App Name & Subtitle
- Short, memorable, describes what the app does
- Use the subtitle for keywords
Description
- First sentence = most important sentence
- Explain the problem and your solution
- What makes you different? (Remember my rejection!)
Screenshots: don't underestimate them!
Screenshots are probably the most important thing in your listing. Most people don't even read the description — they look at the screenshots.
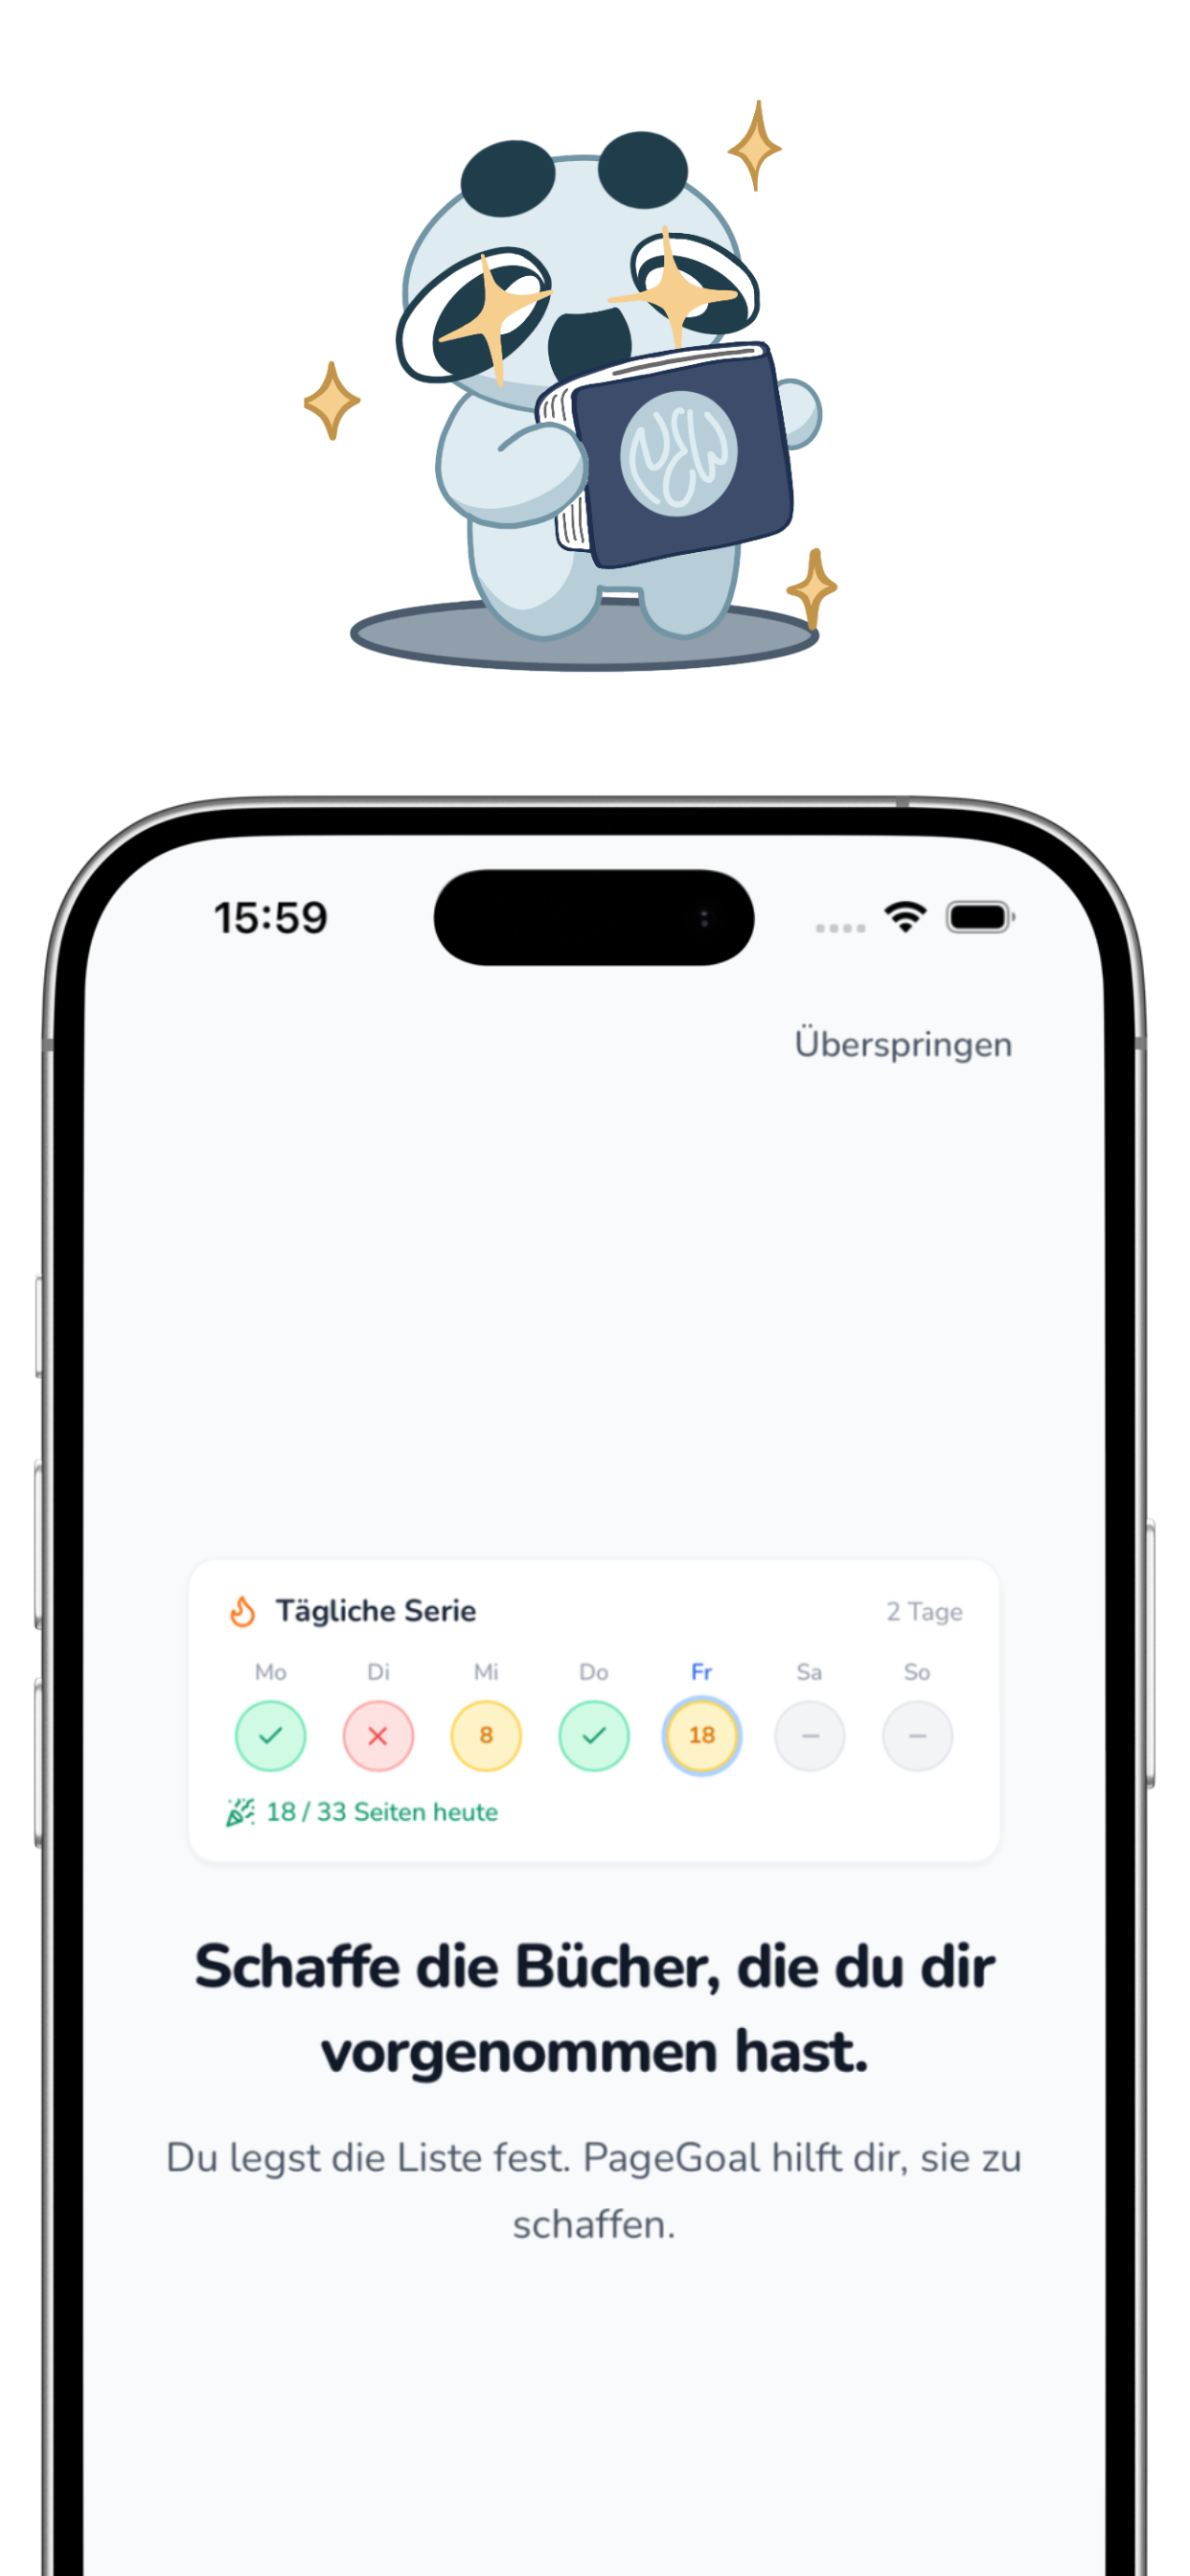
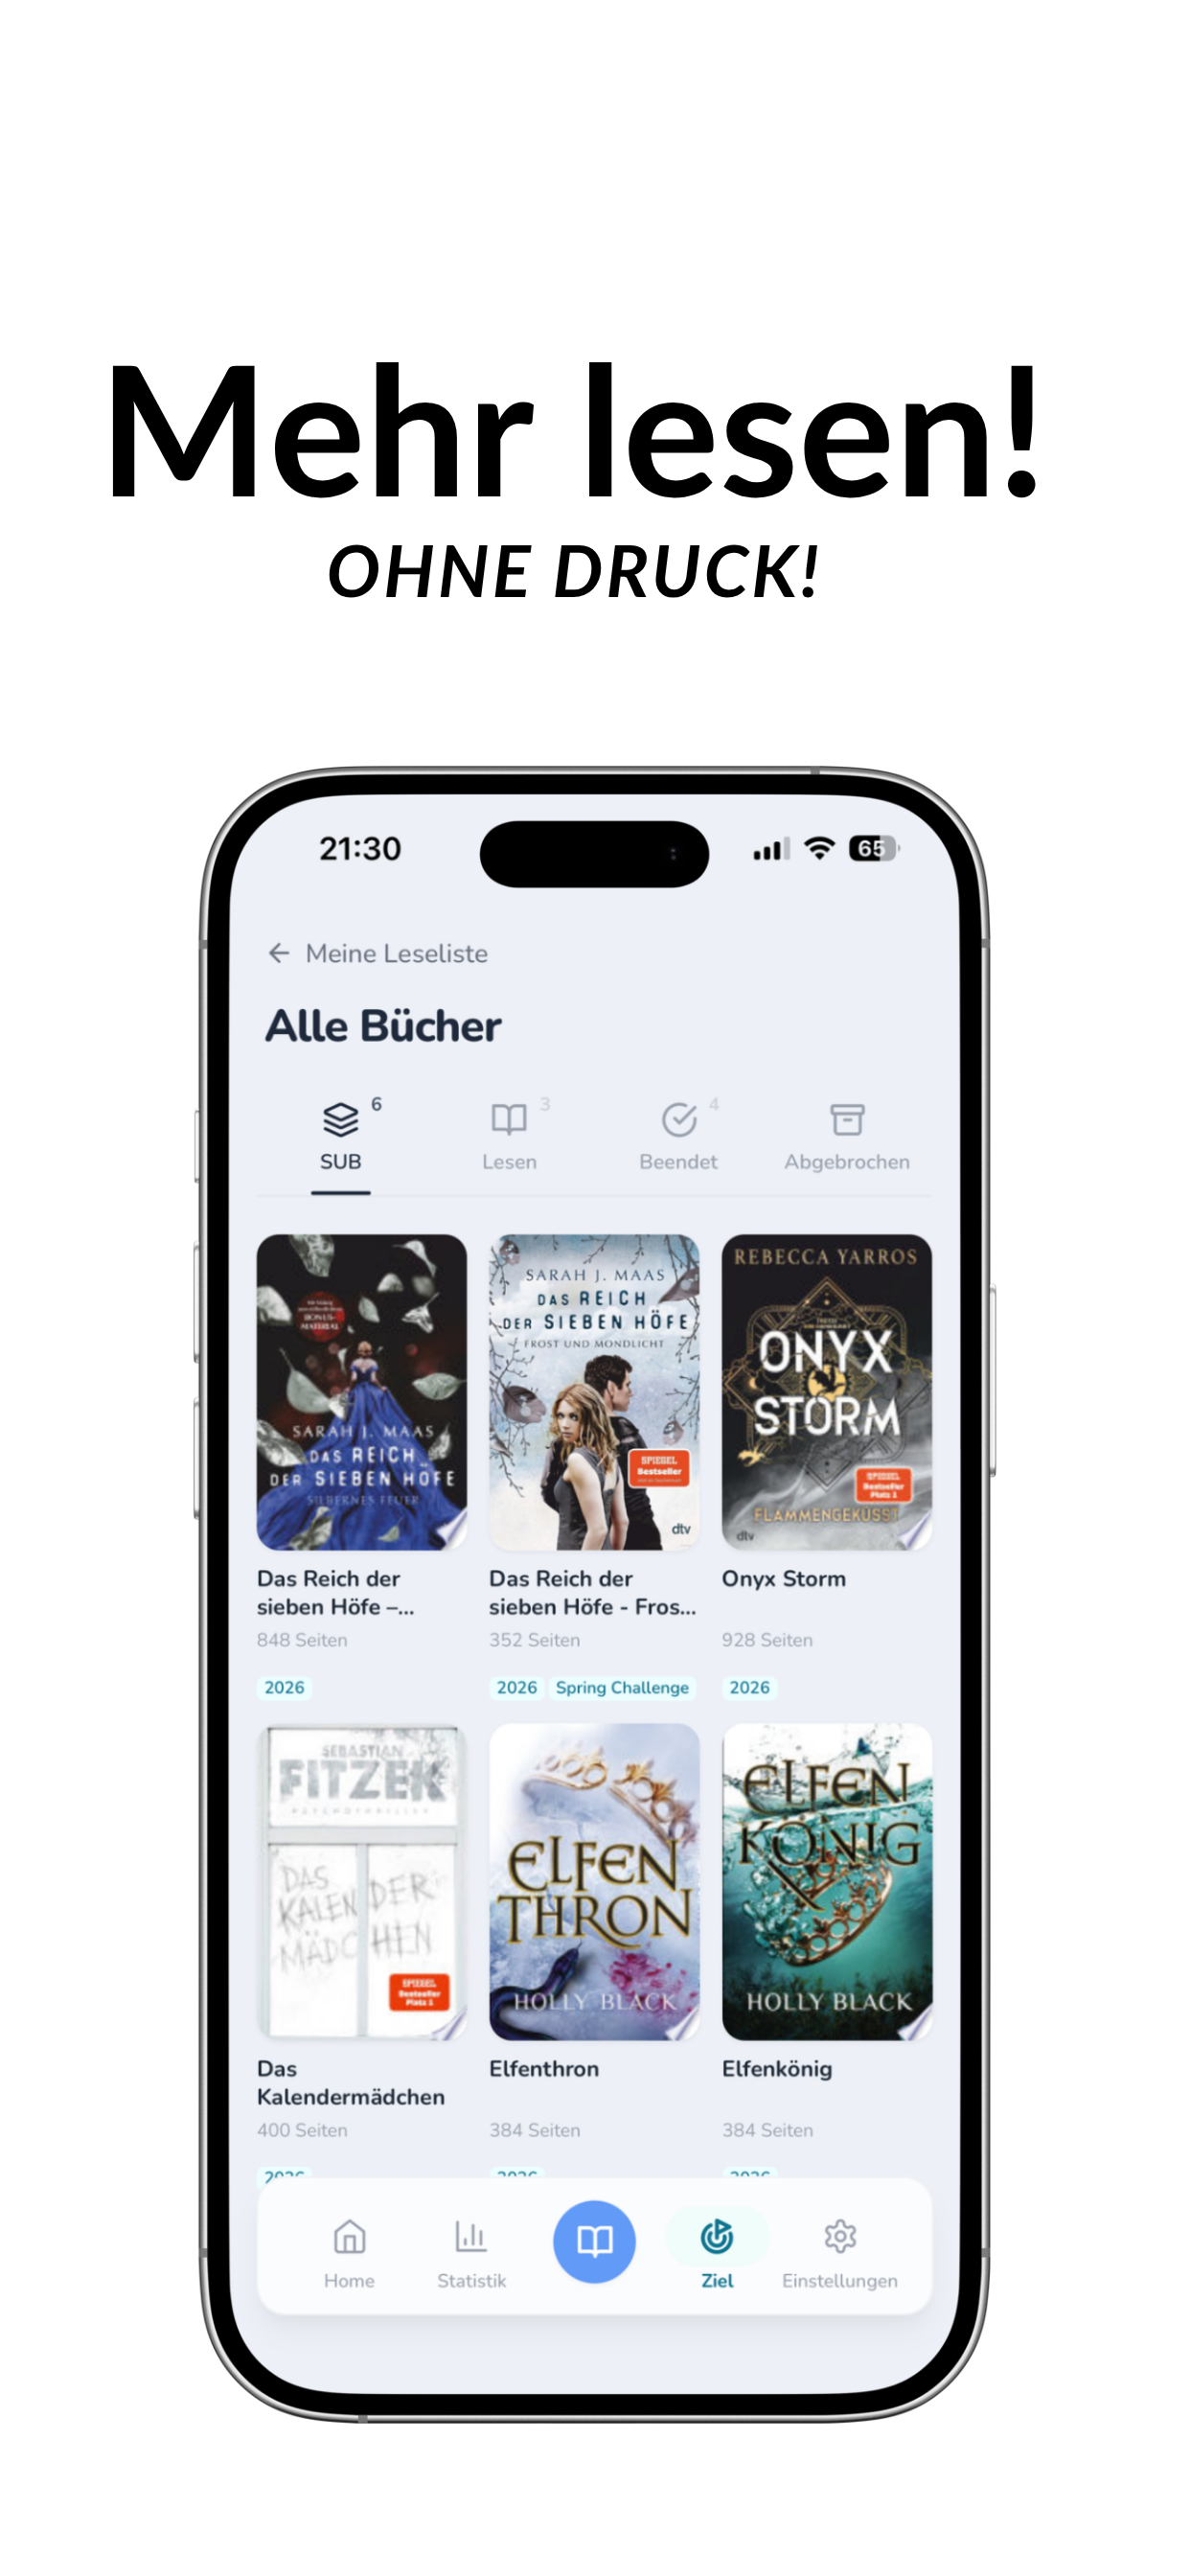
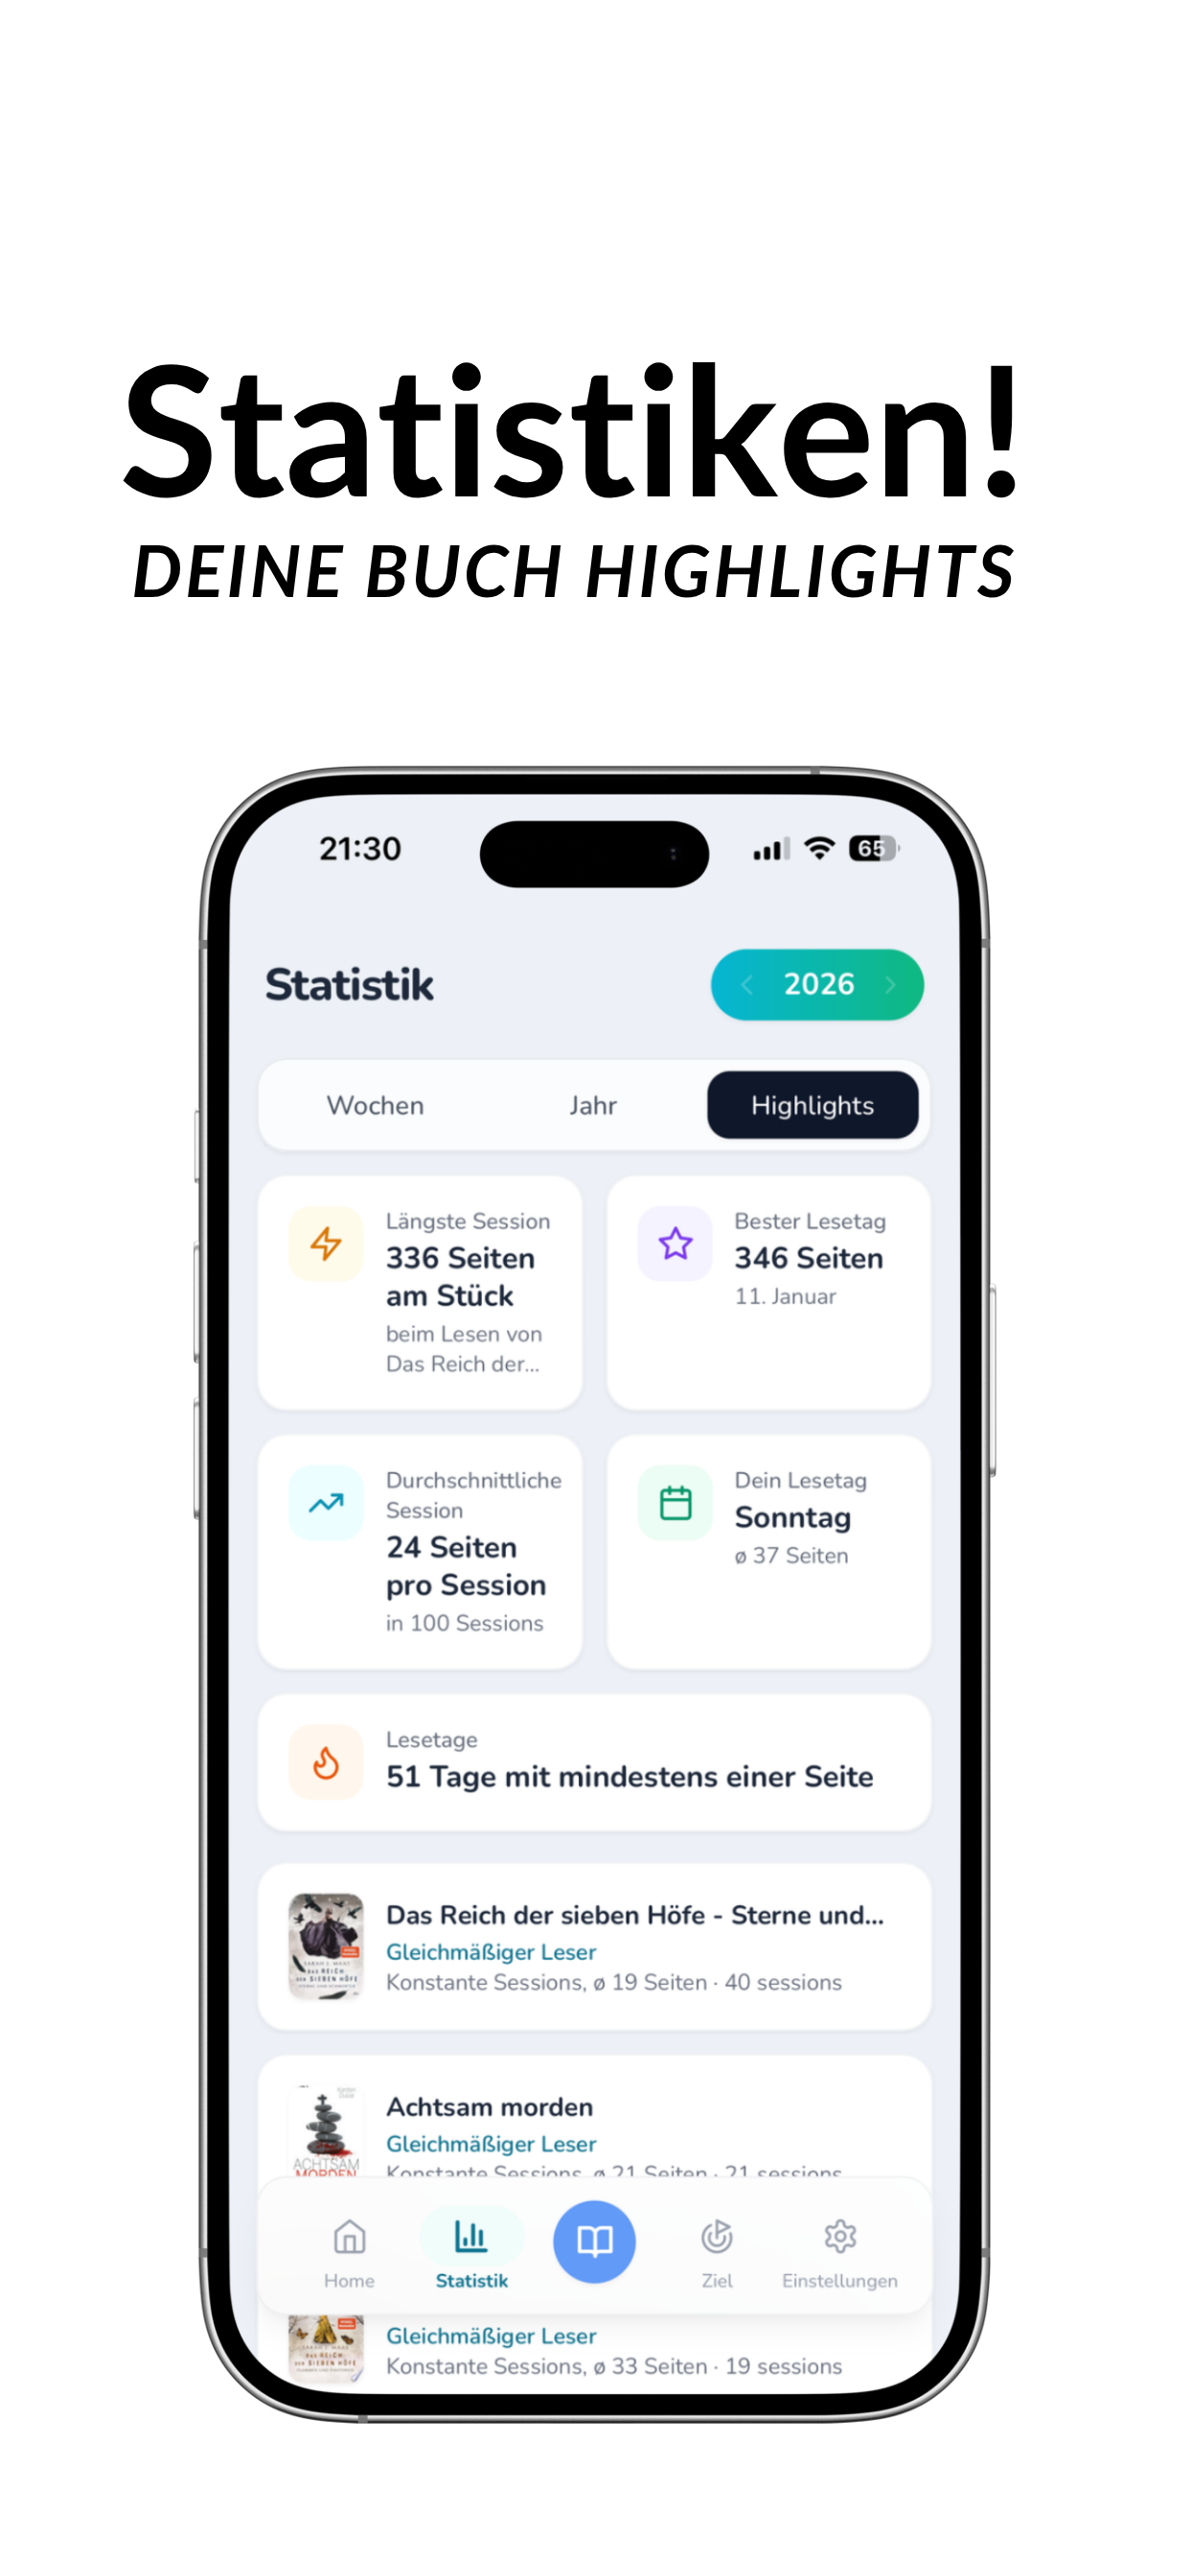
This is what my App Store screenshots look like — designed with Canva
- Show the app in action, not just empty screens
- Text on the screenshots that explains the benefit
- Consistent design, matching your branding
- The first 2-3 screenshots need to convince immediately
I designed my screenshots with Canva.
Keywords
Good keywords are crucial for your ranking in the App Store. Research:
- What do people search for who need your app?
- What keywords does the competition use?
- Use all 100 characters Apple gives you
9Legal & Privacy
The boring (but important) stuff
Everyone likes to skip this. Don't — it can cost you the submission.
A website for your app
- Doesn't have to be a fancy site
- You can host it for free on Vercel hosten
- Automatically redeployed with every change
Legal Notice & Privacy Policy
- Mandatory in Germany
- Must be linked on your website and in the App Store
- For starters, generators are fine (e.g. eRecht24)
Support Email
- Apple requires a contact email
- In the beginning, you can use your personal one
- Later it's worth getting a proper email (e.g. support@yourapp.com)
- Affordable providers like Strato are perfectly fine
10The submission
What happens now?
You have everything ready. App built, screenshots designed, texts written, website online. Now it's time to submit.
The process
- 1Archive the app in Xcode and upload to App Store Connect
- 2Fill in all metadata (texts, screenshots, category, keywords)
- 3Answer the privacy questionnaire
- 4Click "Submit for Review"
- 5Wait (usually 24-48 hours)
Possible outcomes
Pro tip: Automate your build process
If you update your app regularly, it's worth setting up a CI/CD pipeline early. I use Fastlane with Match.
What this means: After every push to my branch, a new TestFlight version is automatically created. I don't have to manually archive and upload in Xcode every time.
This sounds like overkill at first, but trust me: by the tenth time you manually archive, you'll be glad you automated it.
11After launch
Now it really begins
Your app is live. But downloads don't come by themselves.
Promote on social media
This worked best for me: TikTok and Reels as a devlog.
I simply posted videos about my development process. No fancy productions, just honestly showing what I'm working on. And these videos performed really well. Why? Because people want to see how real products are made that they can use.
People were immediately interested and eagerly awaited the app. The beauty of it: You build a community before the app is even finished. When you launch, you already have people who want to download it.
- Show your progress (before / after)
- Share problems and how you solved them
- Be honest about setbacks (e.g. my rejection)
- Use relevant hashtags and communities (for me it was BookTok)
Your Checklist
Everything at a glance
Before you start
- Create Apple Developer Account (€100/year)
- Secure a domain for your app
Build your app
- Choose a tech stack (use what you know)
- Flesh out your app idea
- Build the MVP
- Set up CI/CD pipeline (e.g. Fastlane)
- Iterate regularly and test on TestFlight
Prepare for App Store
- Website with legal notice & privacy policy
- Support email set up
- App Store listing: name, description, keywords
- Screenshots designed
- Promotional text clearly explains what makes your app different
Launch
- App submitted
- Social media content prepared for launch
One last word
I want to be honest with you: Your first app won't be perfect. It won't win any design awards. Maybe in the end only one person uses the app. You.
And that's perfectly okay.
The fact that you built an app and submitted it to the App Store is already an achievement to be proud of. Most people only talk about building apps. You did it. That sets you apart.
No fear of the "Submit" button. No fear of rejection. I was rejected too, and it was the best thing that could have happened to me. No fear of low download numbers.
Every great app once started with zero downloads.
I look forward to seeing your app in the Store. Let me know when you've made it!
Happy coding.